Showing posts with label candy. Show all posts

Saturday, May 21, 2011

I'm Getting Fancier...

I made a batch of red velvet cake balls for hubby's bosses at work and with this batch I wanted to play around with a little decorating.  Nothing totally fancy but just with some candy drizzling. 

I first tried doing the drizzling with a melting squeeze bottle but I think I got a little impatient with the candy melting that I clogged the tip.  Since I didn't have a small enough cake decorator tip I sort of went the poor man's route and used a Ziploc bag.  I just filled it up with chocolate, sealed it up, and snipped a tiny whole in the corner of the bag.  Heh, it worked for the purpose and the cake balls turned out alright.  I just need to make a mental note to find a new decorator tip for this kind of decorating purposes.

Guess their looks didn't matter since I was told they tasted so good anyway ^_^.  Here's how they looked.


Special Order

Colored Balls...

So with this whole phenom of Bakerella's Cake Balls I jumped on the wagon in making these now. 

The thing I didn't mention in my previous post when I first made them is that I found a WAY cheaper way to get candy melts.  Rather than using pre-packaged Wilton brand candy melts that you can find already colored, I actually found chocolate and vanilla candy melts in the bulk foods section of my local grocery store at Winco.  The Wilton candy melts come in bags of 14 oz. at around $2.99 regular price.  Whereas, in the bulk bins I got my candy melts for $2.38/lb! Even though I would have to use oil based dye to color the white melts it still cheaper than buying the melts pre-packaged and I can deal with the coloring part. 

If you have a bulk foods section in your local grocery store go and look if you can find the candy melts.  I've been shopping at the grocery store for the past 10 years and have only really discovered it in the recent months.  I don't know why I never thought of buying most of my grocery items in that section, it would have helped me save some money in the past.

With that said this past Easter I made some Devil's Food cake balls just to play around with flavor.  With this batch I ended up using vanilla flavored candy melts and used oil based dye to color them baby blue and lavender. 


I had to play around with the dyes a bit to get the color I wanted.  I first started out with the blue coloring and used a toothpick dipped into the dye and let it drip into the melted chocolate.  After a few tries I got the color I desired.  With this batch of cake balls I think I made about 80, so I colored half of it blue and the other half lavendar.  When the first batch was done I still had some blue coating left, so I just added more candy melts and added red dye till I reached the lavendar shade I wanted.

After this batch was done and taste test commenced.  I got a thumbs up from my Lil Booger and friends!  Although they still preferred the red velvet cake instead LOL.  It was good experimentation for me and try to get the cake balls coated nicer. 

Here's how they turned out and a few pics of my supplies.
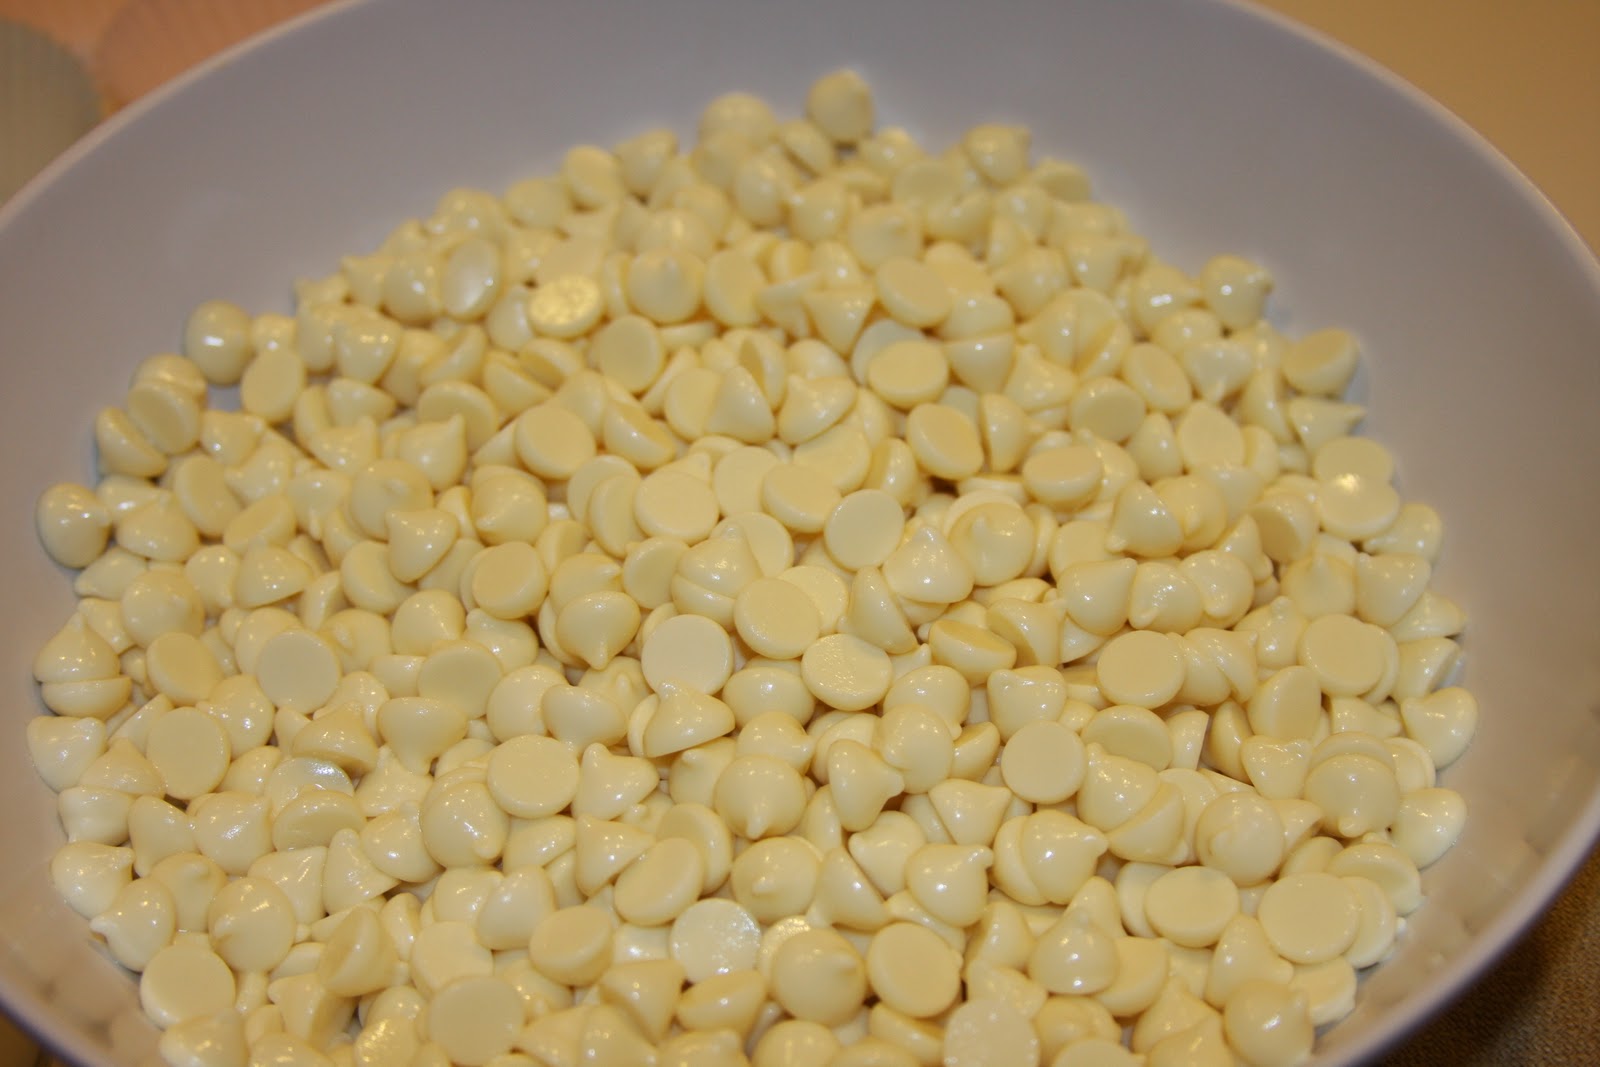
Vanilla Candy Melts


Oil Based Candy Colors


Vanilla Melts Colored Lavender


Light Blue Colored Cake Balls


Lavender Colored Cake Balls


Sunday, April 3, 2011

Trifle, Sex in a Pan, Orgasm Cake...

However you want to call it.  I've only known this dessert to be called Trifle when I first learned how to make this over 15 years ago in high school.  It's so indulgently yummy and chocolaty I can see why it can be called "Sex in a Pan" or an "Orgasm Cake" since it's better than sex or so I've been told LOL.

It's really easy to make and I usually layer this dessert neatly into a glass trifle dish bowl.  However, since I made this last night to take over to a BBQ I just used a plain ol' aluminum pan and made one layer of each ingredient.

Here's the how to:

CHOCOLATE TRIFLE
Ingredients:
1 box of devil's food cake mix
1 box of chocolate instant pudding (I used the bigger one, not sure what the size is exactly)
1 big tub of Cool Whip
4 Skor candy bars

Directions:
Bake cake according to box directions.  Prepare pudding according to package directions.  Let Cool Whip thaw out while cake is baking.  Chop up Skor candy bar into small pieces.  Once the cake is done baking and cooled down, crumble into a layer in a trifle bowl.  Layer with half of chocolate pudding, half of Cool Whip, and candy.  Repeat layer one more time with remaining ingredients.

This is how it would look like in a trifle bowl and one layered in an aluminum pan.


Cake Balls!

I have been wanting to make Cake Balls for forever but never had a reason to make them.  Like I really had an excurse not to anyway, they're some kind of dessert!  If you're not familiar on what Cake Balls are, they're essentially chocolate covered cake balls kind of like a truffle. 

I've been following the site Bakerella that showcases the Cake Balls along with other yummy looking treats.  She provides the how-to's to duplicate her yummy creations and they look pretty easy.  So since my son's third birthday is coming up I was thinking of making these cake balls as treats for the young ones but more so for the adults. 

I followed Bakerella's recipe for the Red Velvet Cake Ball's and here's my process on how they turned out.

Ready to bake the cake.


Cake is done baking.


Crumble the cake.


Add a can of whipped creamcheese frosting.

 
Mix the frosting into the crumbled cake.


Shape into about 1.25 inch balls.


 Melt chocolate. Here I used an electric candy melter/warmer.


Melted chocolate ready in about 5 minutes.


Dip a cake ball into chocolate, tapping off any excess.


Lay on a cookie sheet lined with wax paper.  Allow chocolate to harden.


Mmmm....Yummy Red Velvet Cake Balls!


Saturday, October 16, 2010

I Want Candy!

For the baby shower I mentioned just a bit ago I made some candy favors to giveaway.  I made White Chocolate Pretzels that have a good balance of sweet and salty.  I used to make these back home in Hawaii once in a great while and before I became a SAHM here in Oregon I used to make these as Christmas treats for my co-workers.  Since I hadn't made these in a while I figure what better time than now.  They are really easy to make and inexpensive too.  I used to eyeball the amount of ingredients but found a much better recipe from one of my local Hawaii cookbooks "Local Style: Cooking With A Mainland Flair" that was a Project Graduation 2006 for Moanalua High School.  Here's the recipe and a few pictures of the making process. Enjoy!

WHITE CHOCOLATE PRETZELS
Ingredients:
1 lb. white chocolate (I use 2-12 oz. packages of chocolate since 1 lb. seems a little dry)
10-ounce low salt, buttered pretzel sticks
2 cups Rice Krispies

Directions:
Melt chocolate in microwave bowl 6-8 minutes on defrost setting (be careful not to burn; chocolate will still look solid).

Break apart pretzels and mix with Rice Krispies.  Pour melted chocolate over pretzel-cereal mixture.  Mix well, making sure treats are covered well.  Scoop mixture, while chocolate is still hot, into baking (cupcake) cups.  Treats will harden in 10-15 minutes.

Recipe says it makes 2 dozen cups.  This last batch I made was 30 cups, it all depends how much you put into the cupcake cups.  After putting them into the cups I like to add colored sprinkles, it's all up to you what kind you put depending on the occasion that you are giving them for.

2 pkgs. white chocolate


2 cups Rice Krispies


10-ounce Pretzels broken up


White chocolate already heated in the micro...see how it still keeps it shape? Don't worry it's fine, the chips underneath are the ones that were really melted in the process.  When adding them to the cereal and pretzel mixture the rest will melt.


Everything all mixed up.


Ready for consumption.